Sunday, November 11, 2012

Starry Night (Van Gogh) Nails

- Vincent Van Gogh


What I Used:

Sally Hanson Base and Top Coat
China Glaze: Black Onyx
Milani: White Canvas
Pure Ice: Excuse Me (Gold)
China Glaze: Electric Beat
China Glaze: Boy Toy Blue
Fine nail art brushes
Dotting Tool


After applying your base coat, paint all of your nails blue.
On your thumb and ring fingers, paint this swirl with a duller, lighter blue than the background.
Add a large white dot in the middle of the swirl. I used a dotting tool for this.
Using a fine nail art brush, carefully brush strokes of white over the pale blue swirl. 
You want the strokes to move outward from the center circle like above. 
It may help to look at a picture of Starry Night, which I added at the bottom of this post.
Paint white oblong, blotchy looking shapes towards the very top of your nails using a brush.
These will be the stars. 
Add a gold-ish yellow color to the white dots at the top to finish the stars.
Paint a black tip.
Last, paint three black lines towards the left side of your nail.
The first should be the smallest and should go over the large white circle about half way.
The second should be a little larger and the third the largest and as far left as you can paint.
Apply your top coat, and you are sporting a masterpiece!

Below is the work of art itself. "Starry Night"

Saturday, October 27, 2012

Alice in Wonderland ~ Disney Nails

Alice in Wonderland Nails! Inspired by Disney's Trippy Movie :)
Colors you need
Black, white, yellow, red, light green, dark green, light purple, dark purple and blue. 

What I Used
Sally Hansen Double Duty Base & Top Coat
China Glaze Yellow Polka Dot Bikini
Opi Black Onyx
China Glaze Gothic  Lolita
China Glaze Sweet Hook
China Glaze Boy Toy Blue
Milani  White Canvas
China Glaze Kiwi Cool-Ada
All other colors I needed, I used acrylics for. 
Dotting tools
Fine nail art brush 


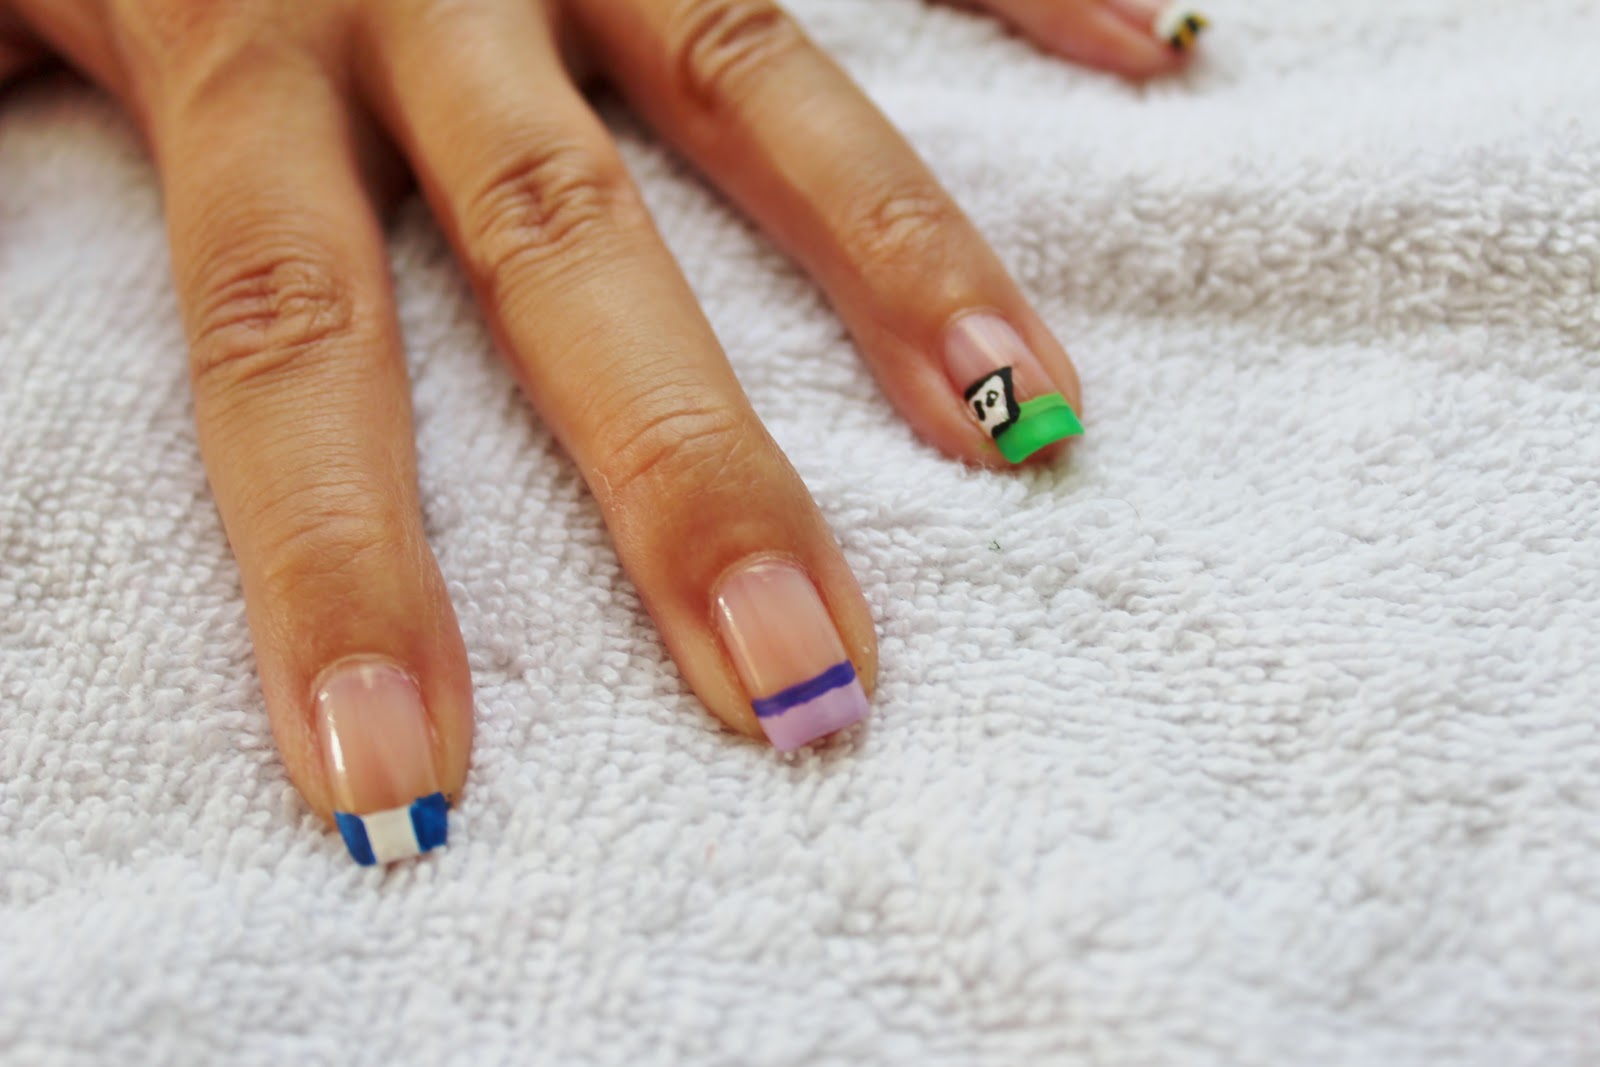
After applying your base coat, paint your thumb white, your index finger with a white tip, your middle finger with a light purple tip, your ring finger with a dark green tip and your pinky with a yellow tip.
Paint a thin light green line on top of your dark green tip, a white line on top of your yellow tip and a dark purple line on top of your light purple tip.
Next, paint a greater then sign with black polish and a fine nail brush...like the picture above. This will represent the mad hatter's hat.  Also using black, paint diagonal lines on top of your yellow tip.


Next, fill in the black 'greater-than sign' with white. You can use a brush or a dotting tool to do this.
Paint each side of the white tipped index fingers with blue. This is to represent Alice's dress. Also, paint a number (I used 10) into the mad hatter's hat with black and a fine nail art brush.
Using red, paint two little hearts on your pinky fingers. This is for the Queen of Hearts. <3
Paint a thin black line on top of the blue and white tipped nails. Then two triangles opposite of each other to create Alice's black bow in her hair. On the middle fingers, paint the cheshire cat's big, wide 'ear to ear' smile. You will need to use a fine nail art brush, or the tip of a toothpick. This was the hardest part! Start with the black outline, and then fill in with white. Last, paint the thin black lines for the teeth.
On your thumbs, paint a half circle and the watch clicker using yellow. Add a little black arrow for the hour hand and black paws for the white rabbit's feet. You can creative and do what you want! :)
Apply your top coat and you're done!  Enjoy! These are impressive when done!


'Jack Skellington' Nightmare Before Christmas ~ Halloween Nails

A Nightmare Before Christmas 'Jack Skellington' Nails for Halloween!!


 What I Used:

Sally Hansen Double Duty Base & Top Coat
Opi Black Onyx
Milani White Canvas
Sally Hansen Diamond Glass Slipper
Fine Nail Art Brush
Dotting tool
After applying your base coat, paint all of your nails black.
Using a dotting tool, paint a white circle on your thumb and ring finger nails.
Using a fine nail art brush, paint two, black, upside-down tear drops for the eyes.
You can make him look happy or mean. >:)
Paint two small, black lines under the eyes for the nose.
Using a super thin nail art brush or a toothpick, paint on a thin, black smile.
It should be a very wide smile...from ear to ear. The thinner, the better!
Again, as thin as you can possibly make it, paint lines across the smile all the was across using black paint.
The spider web is pretty hard. You need a very thin nail art brush and some white polish. Paint a small white dot in the center of your finger where you want the web to begin.
Next, paint 5 straight lines coming out from the white dot...all the way out  to the edge of your nail.
Last, paint curved lines connecting the 5 lines to give it to the web look.
Finally, paint the sparkly polish over all of your nails, apply your top coat to protect your painting...
...and you're done! 


HAPPY HALLOWEEN!! >:)


Saturday, September 8, 2012

Galaxy / Universe Nails


All long time ago...

...in a galaxy far, far away...


What I Used:


Sally Hansen: Double Duty Base & Top Coat
Opi: Black Onyx
Sally Hansen: Hard to Get (white),
Sally Hansen: Glass Slipper (clear glitter)
China Glaze: Yellow Polka-Dot Bikini, Flip Flip Fantasy (pink), Electric Beat (blue)
Tiny pieces of Sponge
Dotting tools

After applying your base coat, paint all of your nails black.
Using small cut up pieces of sponge that you can find around the house, dip it in the white paint and carefully...
....dab patterns on to your nails like the above picture.  Each should be different than the other. It may help to google 'universe' and look at a few pictures under google images. 
Next, sponge on some yellow on top of the white.
Then add a little bit of the light pink on top of the yellow and white. You don't want to cover all of any color. Just subtly add more and more color to your galaxies.
Next, sponge on dark blue to the outsides of your galaxies to give it the effect that it is disappearing into the blackness of space. It will also give your galaxies more definition.
Using a dotting tool, add small and smaller white dots to the sides of your galaxies and randomly all of your nails. These will represent the stars. It looks better to have the tiniest of dots. The smaller, the better.
Last, paint on a coat of sparkly glitter polish, add a top coat to protect your masterpiece, and you're done! It's like having heaven on earth. :) 

FSU Nails ~ GO NOLES!


TO  MY ALMA MATER, 
FLORIDA STATE UNIVERSITY. 
THE BEST SCHOOL IN 
THE WORLD! :) GO NOLES!


What I Used: 

Sally Hansen: Wine Not (Garnet)
Pure Ice: Excuse Me (Gold)
Milani: White Canvas
Sally Hansen: Double Duty Base & Top Coat
Two gold stones
Fine nail art brush
After applying your base coat, paint your index, pointer and pink-y fingers gold
and paint your thumb and ring finger garnet.
I painted this more simple "FSU" on one of my thumbs using white polish and a fine nail art brush...
I painted my other thumb with this FSU insignia...also using white polish and a fine nail art brush. This was much harder. I knew I wouldn't be able to do this with my right hand, so I painted the easier 'FSU' on my other thumb. It helps to have a picture of it in front of you while you are painting. Also, acrylic paint may be easier to work with than polish.
On your ring finger, using white paint and a fine nail art brush, paint a triangle in the corner of your nail and fill it in. Next, paint a long line from the middle of the triangle, outward. Paint two very small lines on each side of the stem of the Seminole arrow.
Paint a french-like manicure on the three gold nails using garnet polish.
Paint thin white lines between the gold and garnet french. Add a gold stone to your arrow nail. Apply a double top coat and you're done! You're now a Super Seminoles Fan!

F-L-O-R-I-D-A
S-T-A-T-E

FLORIDA STATE!
FLORIDA STATE!
FLORIDA STATE!

WHOOO!