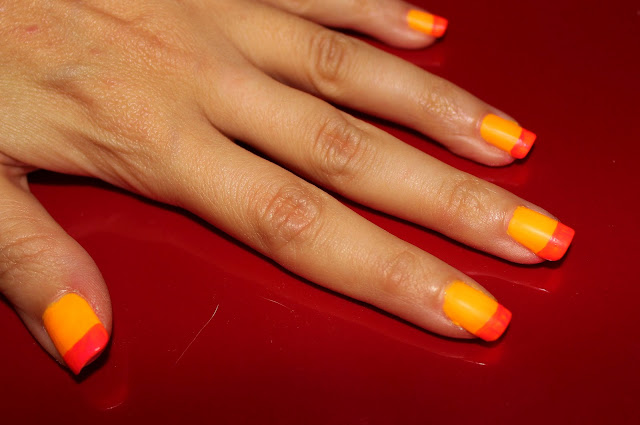
First, you have to buy your tools. Ive learned that the best polishes for nail art are the ones that have a quick dry element. The most difficult part of doing nail art, I have found, is playing the waiting game. You MUST wait for your paint to completely dry before painting another color over it. Otherwise, it will turn into a muddy mess, which actually can look cool sometimes depending on the colors you are using. ;) The best brands for this kind of polish are China Glaze and Opi. Also, using a hair-dryer works well to dry them in between colors. Additionally, acrylic paints are great to have when doing detailed nail art, like flowers, hearts, etc. You can find acrylic paints just about anywhere, even super cheap at Wal-Mart. They are great to use when you're first learning.
You will also need a base coat and top coat clear polish. Sally Hanson has a two-in-one 'tough as nails' polish that works well for both purposes and you only have to purchase one bottle, rather than two. It's also great for strengthening your nails if you have a hard time growing them.
Finally, you will need your brushes. You can purchase nail art brushes online at Amazon.com / nail art brushes for all the brushes you will need and at a very cheap price. I found mine for $10.00! To learn how to use each brush, find tutorials on YouTube, like this one here: How to Use Nail Art Brushes.
The above are the basic tools for nail art. You can also purchase dotting tools, however, you can find things around the house to use as a dotting tool, rather than spending the $5. I've used the back side of my nail art brushes, toothpicks and pen tops. Be creative! You may also want to purchase rhinestones, beads, or other 3d nail art accessories to add to your 'art work.'

What I used for what I am going to show you today are the following:
- China Glaze: Sun Worshiper (Orange)
- China Glaze: Pool Party (Hot Pink)
- Sally Hanson: Double-Duty base and top coat
- Brown and Off-White Acrylic Paints
- Fine Nail Brush
 |
| First, apply your base coat, allow to dry, then paint your nails with the Sun Worshiper Orange. I used three coats. |
 |
| Using the brown acrylic paint, add one small dot in the middle of your flower. Look how cool..and easy! |
Hope this helps! If you want to learn more techniques, subscribe to this blog.
I will be posting new designs weekly!
Thank you! :)


No comments:
Post a Comment