

What I Used:
Opi: Black Onyx
Milani: White Canvas
Opi: Black Onyx
Milani: White Canvas
Red Acrylic Paint
(because the only polish color I
don't own happens to be the
most common nail polish color)
& a fine nail art brush
 |
| After applying your base coat, paint your thumb and ring finger black. |
 |
| Paint the other three fingers using white nail polish. You will want to make jagged lines to look a lot like a cracked egg. Make sure you cover all of the white part of your nails with white polish. |
 |
| On your two black fingernails, paint the head of the skull first with white polish. You can start by painting a circle and then add an oval to the bottom of the circle to represent the nose area. Next, paint a curved line under the head (without touching the head) to represent the jaw of your skull. Remember to allow as much space as possible to the bottom of your nail for the bones. |
 |
| Paint two straight lines that intersect each other for the crossbones. Then add two small circles using a dotting tool to the ends of each line. You will want to overlap the two circles to get the bone-effect. |
 |
| Using a dotting tool, add two black dots for the eyes and one smaller dot for the nose. |
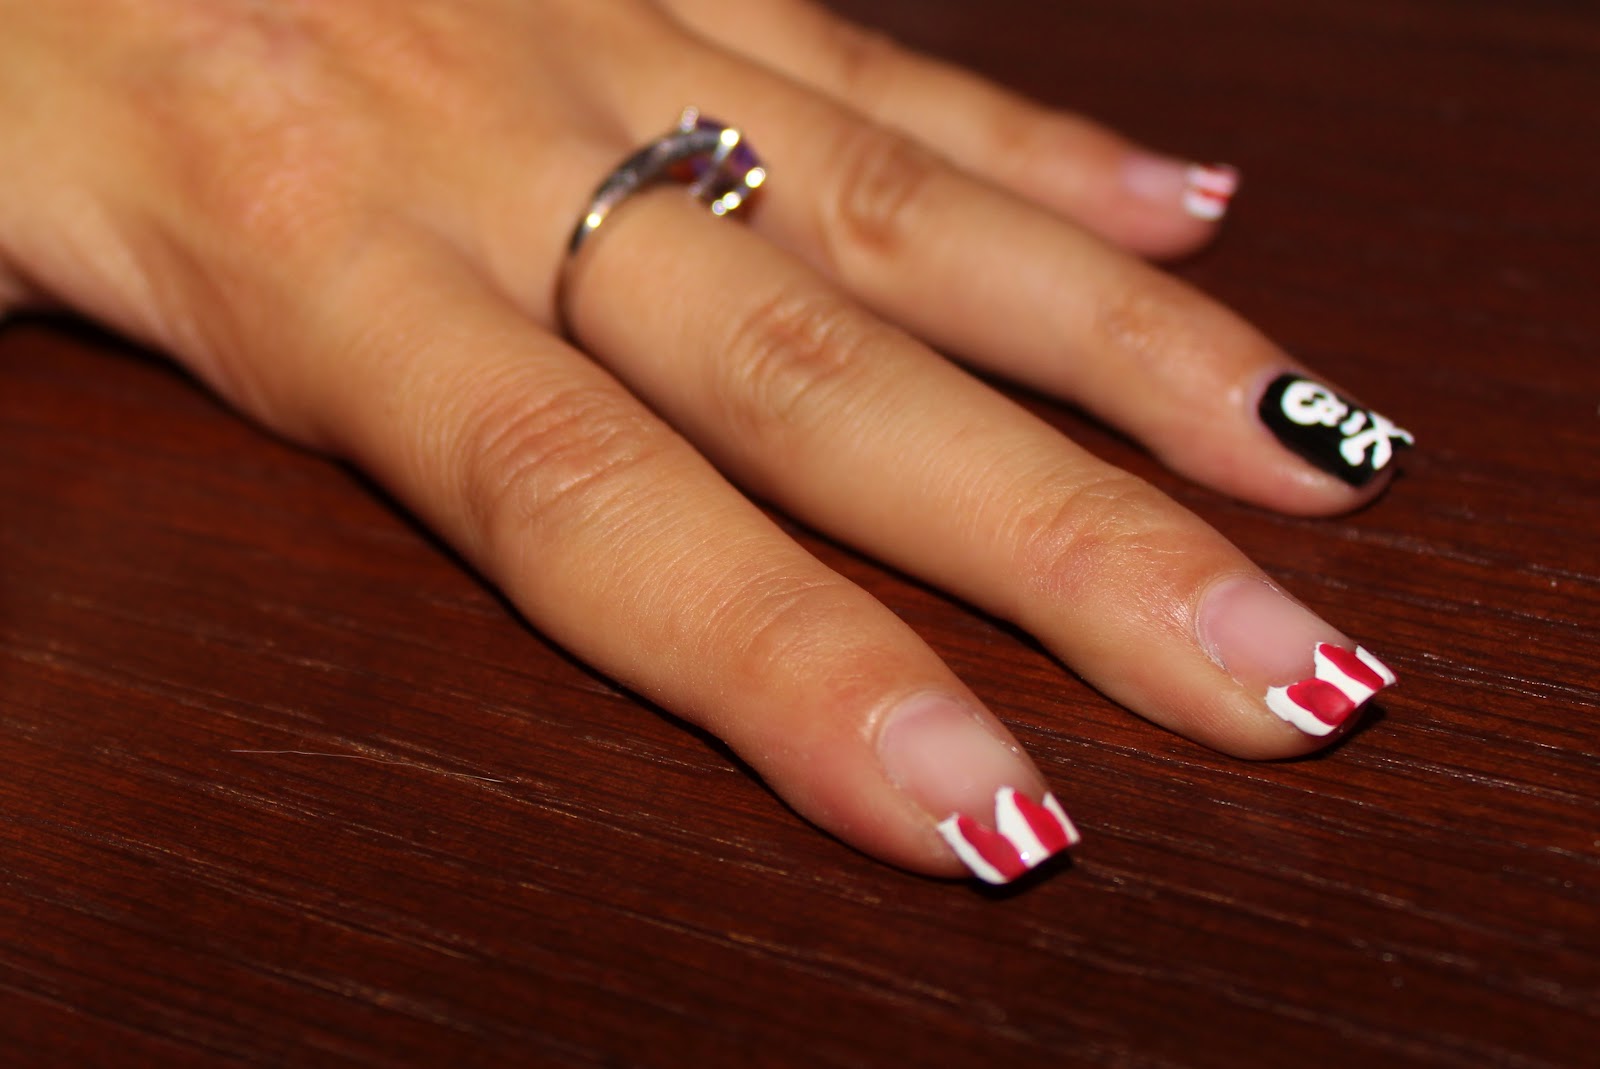 |
| Now, back to the other three fingers. Using red polish or acrylic paint, paint three red lines within the white you already painted on the tips of your nails. |
 |
| Last (and this is the hardest part), outline the jagged edges with black for that clean look. Apply your clear top coat and you will have a great excuse to 'Arrrgh' all day at people. :) |
No comments:
Post a Comment