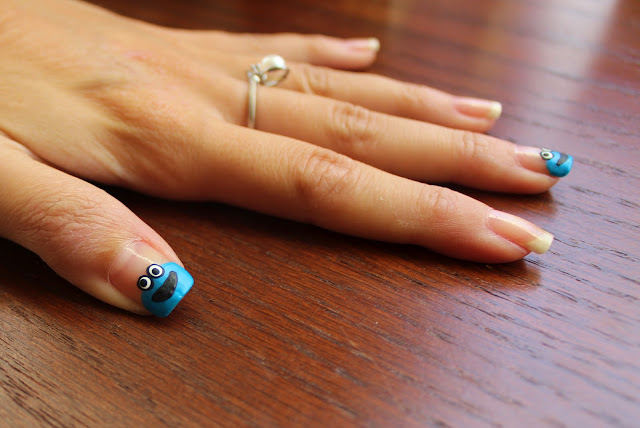
ME WANT COOKIE!
What I Used -
China Glaze: Boy Toy Blue
Opi: Black Onyx
Sally Hansen: Hard to Get (white)
Sally Hansen: Honey Whip
Sally Hansen: Double Duty Base and Top Coat
Dark brown acrylic paint
Fine nail art brush
Dotting tools
 |
| After applying your base coat, paint the tips of your middle finger and thumb nails 'cookie monster' blue. Paint a half circle shape and make sure to cover all of the white part of your nails. |
 |
| Using a dotting tool, add two large, black dots to represent the eyes. The dots should slightly overlap each other... and be half on top of the blue and half on top of your clear nail. |
 |
| Add two white dots inside the black dots. You want the black dots to outline the whites of the eyes. |
 |
| Next, draw a big, wide smile using a fine nail art brush and black polish or acrylic paint. The smile should be wider than the eyes and should be in a half-circle shape. |
 |
| On the other three nails, paint the tips the same as you did with the blue, but with a tan color polish. Make sure to cover all the white of your nails. |
 |
| Last, using a dotting tool, add random dark brown dots to your cookies... apply your top coat and you're done! Nom, Nom, Nom.... |


No comments:
Post a Comment